


Copyright © 2025, J. R. Goodenough
Screen shots 3
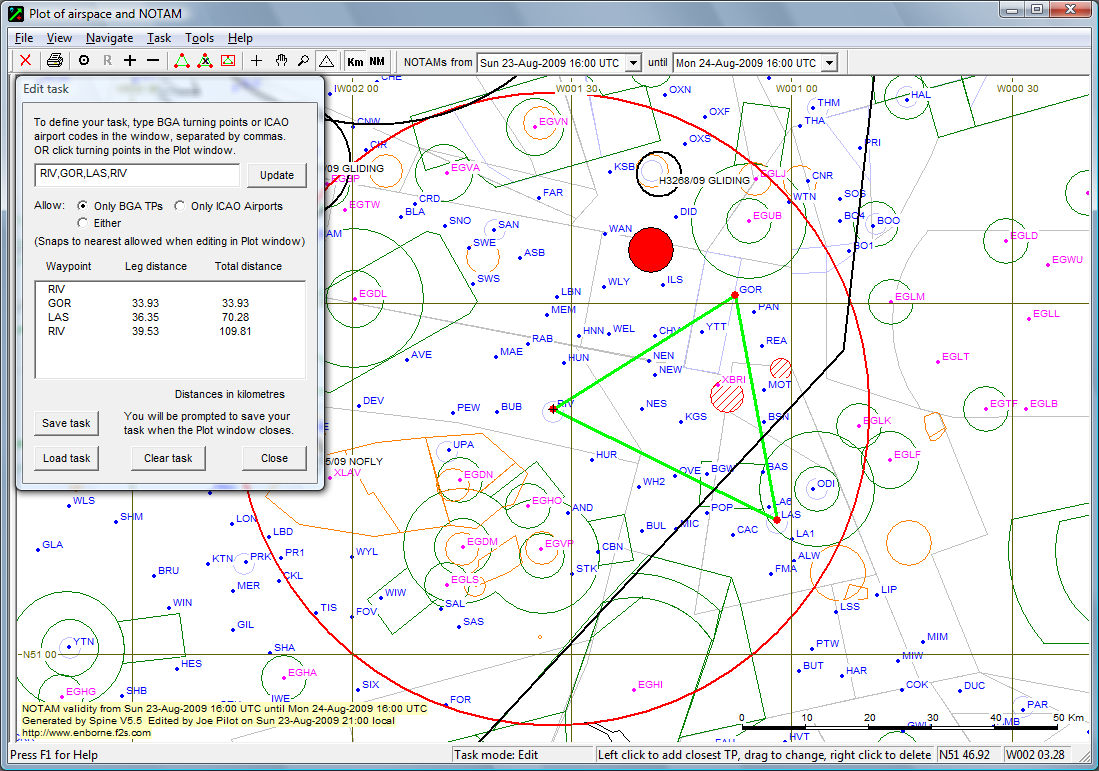
You can plot a task by by choosing Edit from the Task menu, by clicking on the Edit Task button in the toolbar (the green triangle with red dots), or by selecting the Task tool (the black triangle).
You can either plot the task directly in the window by clicking on turning points, or type the turning points in the dialog which appears.
Both methods are interchangeable - you can set up a task in the window, then edit in the dialog, or vice versa.
The screen shot above shows a task which has just been set up in edit mode. (Note how the left-hand panel has been dragged to the left to maximise the screen area.)
You can click the Load button on the dialog to re-load a task which you previously saved. If you enter a new task, or change one you loaded, you can save it by clicking the Save button.
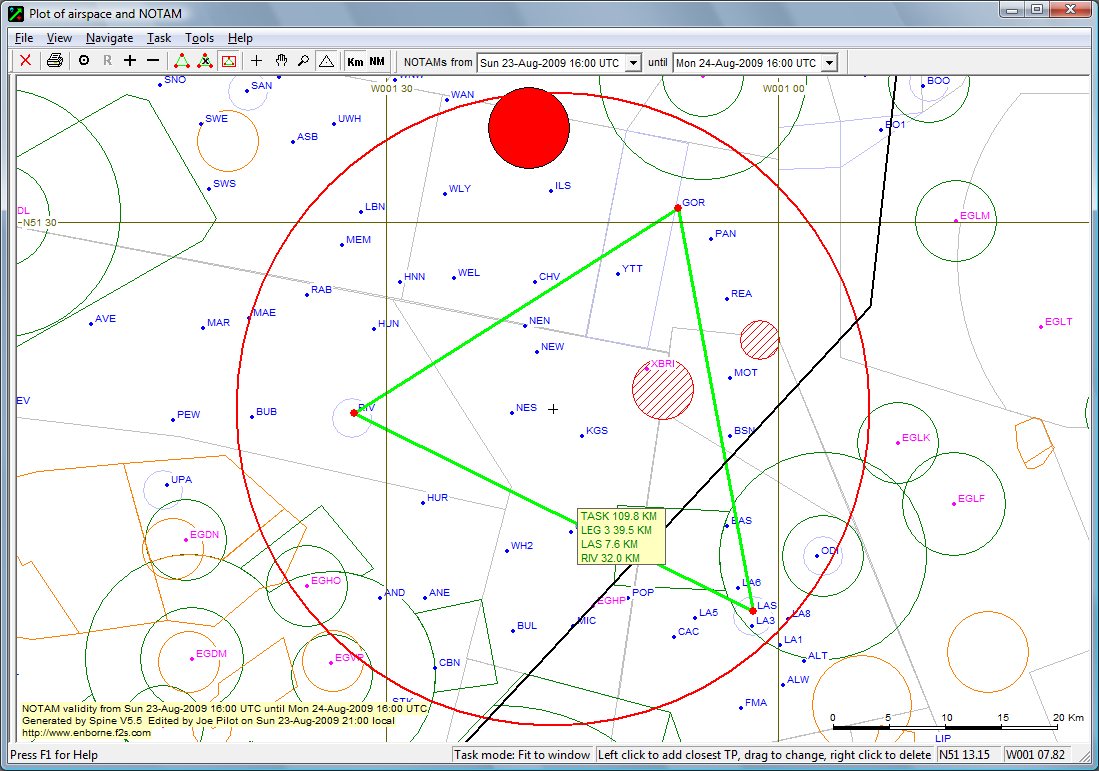
If you hover the mouse over one leg of the task, a popup appears giving the total task length, the leg length and the distance to the two adjacent turning points.
Once your task is set up, you can change to ‘Fit to window’ mode, which maximises the task in the window.
At the same time, the NOTAM range is recalculated to fit the task area. The open red circle shows this range. Any NOTAM enclosed by or cutting the circle will be shown.
(The solid red disc shown is a prohibited area, in this case Harwell.)
Click on thumbnails for full-sized image